


Thursday 28 June 2012
Tutorial written on 28th June 2012
This tutorial assumes you have working knowledge of Adobe Photoshop CS2
♥ Supplies Needed ♥
♥ You Need SATC License number to use this Art
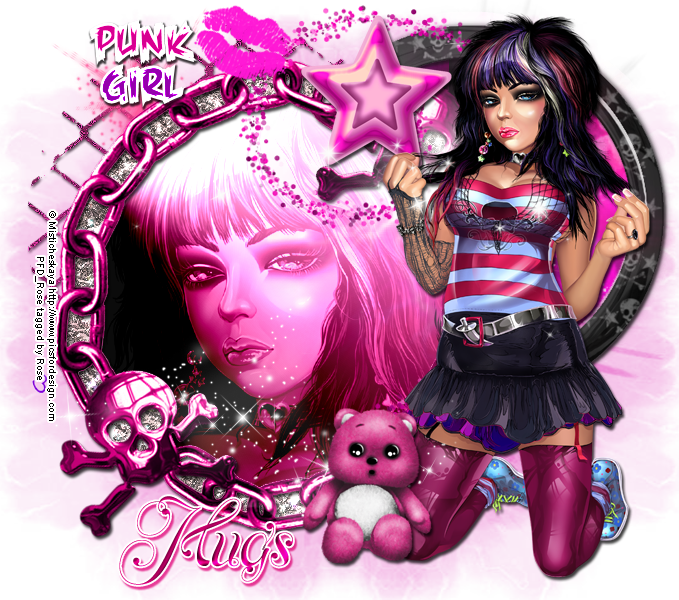
♥ Font of Choice I used LainiedaySH
♥ Plugin Needed VanDerLee
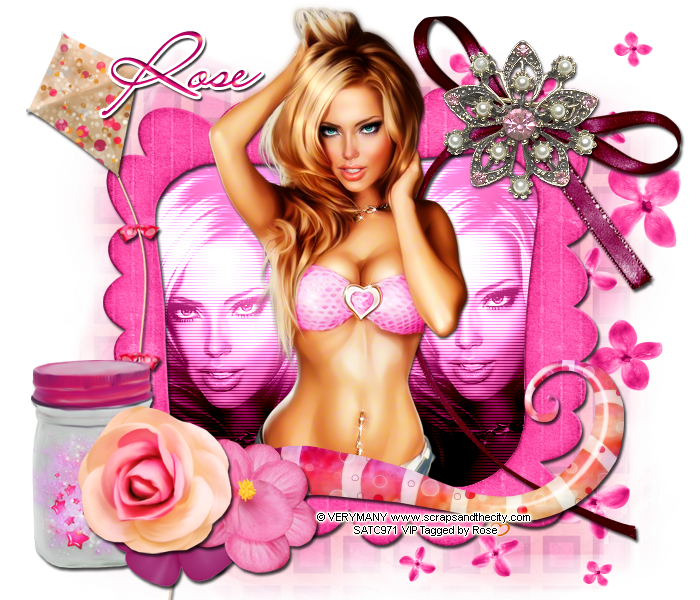
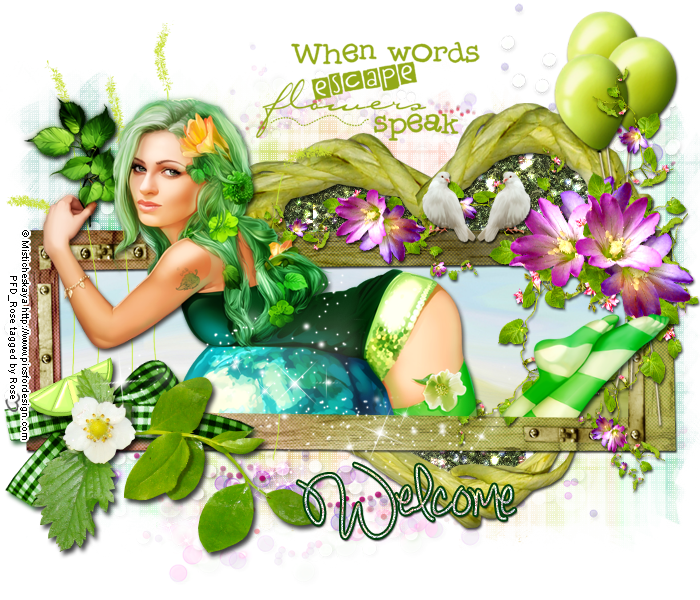
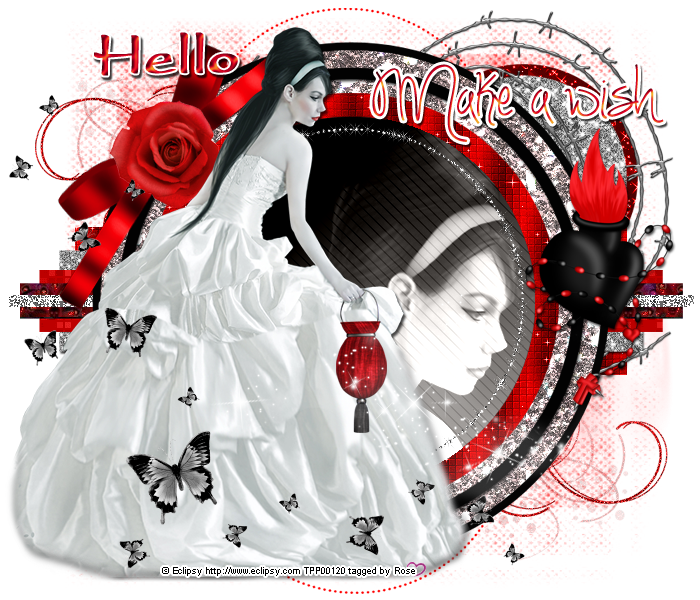
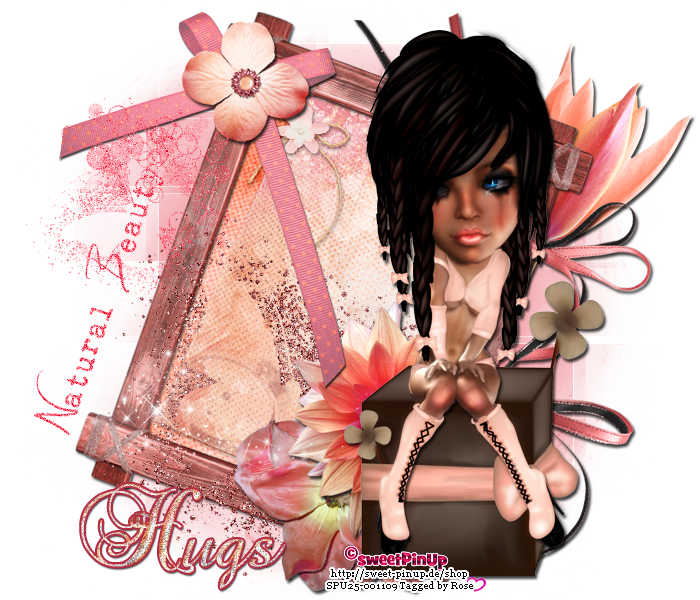
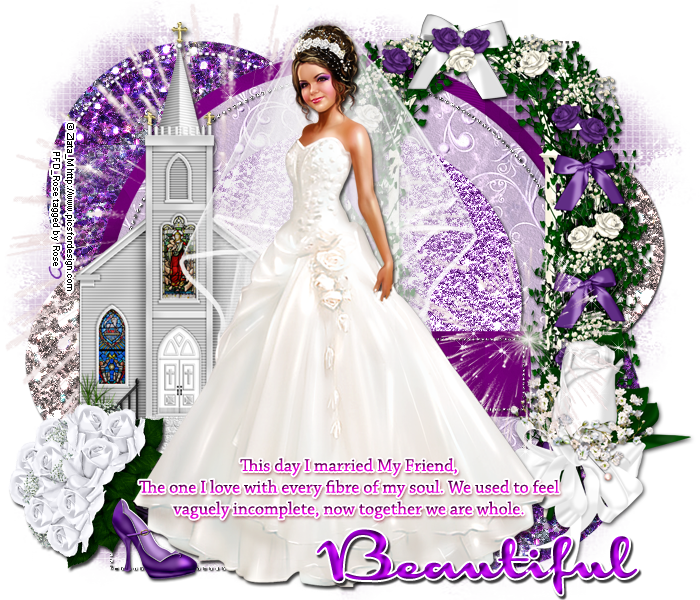
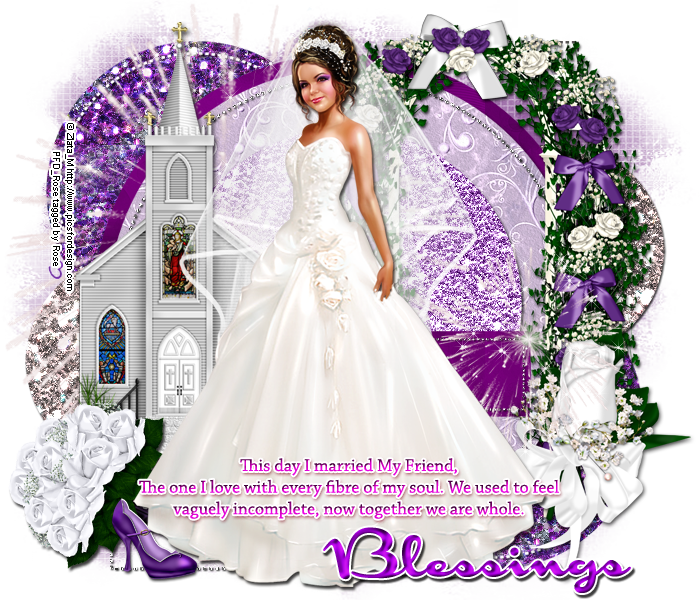
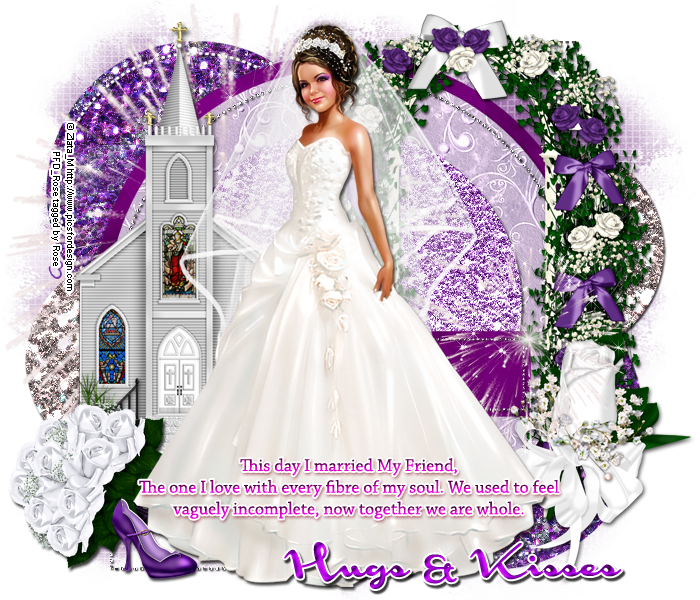
Open new image (ctrl+n) size 700 x 600 pxl with white bg color
Open as30 resize 90x90 paste it center of image
Open tube and paste tube layer at center of the image resize 70x 70 cut the lower part of tube as shown in my tag, open closeup tube layer place it behind the frame layer at the right and left side of the center tube layer, resize them 80x80 and merg both closeup layers
click Image > Adjustment > desaturate
click Image > Adjustment > desaturate
Open as33 and place it on the right side of the image behind frame layer
Open element as01, as06 (resize 80x80) , as10 (resize 60x60), as12 (resize 80x80), as13 (resize 90x90), as20 (resize 80x80) place them on the left lower part of the frame
open element as19, as46 place them on upper right corner of the frame
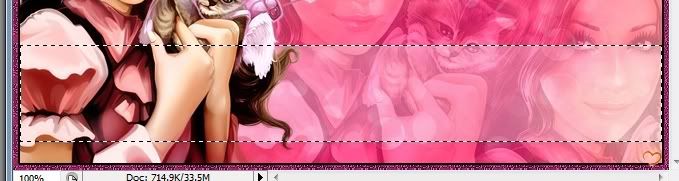
select your desaturated tube layer and click
Filter > Vanderlee > Interlace
Horizontal scale 2
Horizontal contrast 50
Horizontal thickness 1
Vertical Scale 1
vertical contrast 0
Vertical thickness 50
now apply Vanderlee > Light > color #fe58b2
set values
x position 50
y position 69
Angle 360
focus 55
click ok :)
add drop shadow all your elements
now add mask i used as_paper04 in mask pattern
Open element as01, as06 (resize 80x80) , as10 (resize 60x60), as12 (resize 80x80), as13 (resize 90x90), as20 (resize 80x80) place them on the left lower part of the frame
open element as19, as46 place them on upper right corner of the frame
select your desaturated tube layer and click
Filter > Vanderlee > Interlace
Horizontal scale 2
Horizontal contrast 50
Horizontal thickness 1
Vertical Scale 1
vertical contrast 0
Vertical thickness 50
now apply Vanderlee > Light > color #fe58b2
set values
x position 50
y position 69
Angle 360
focus 55
click ok :)
add drop shadow all your elements
now add mask i used as_paper04 in mask pattern
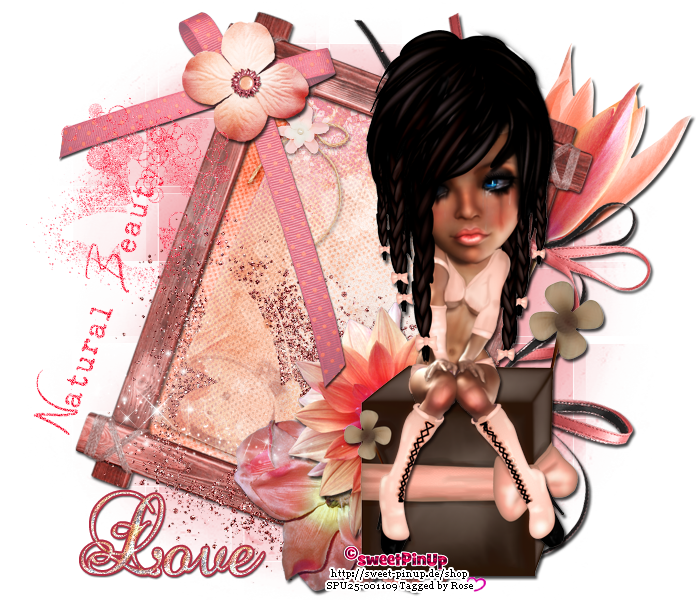
♥ Add copyright info and license number correctly
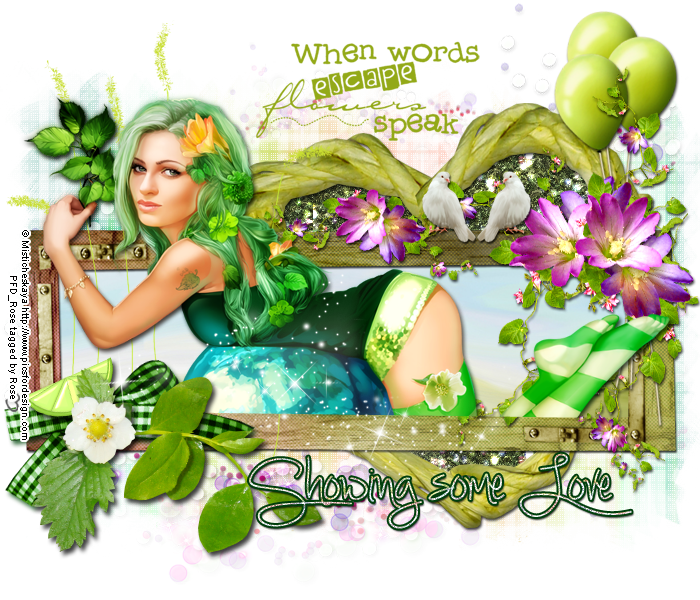
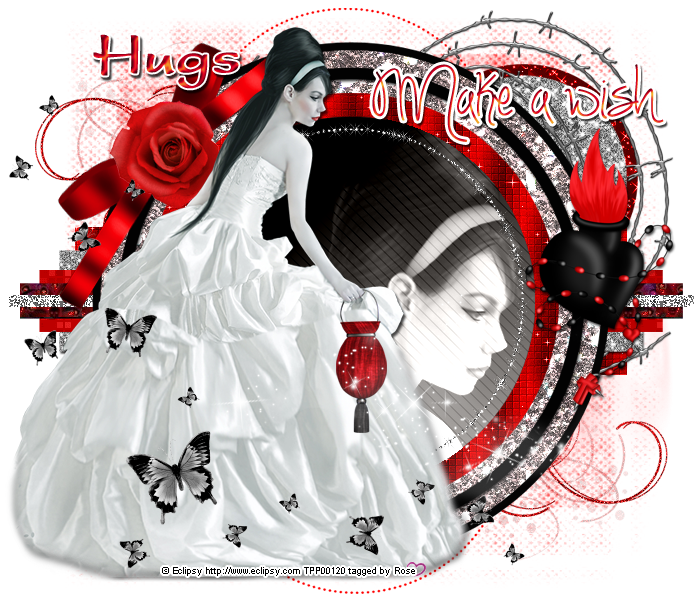
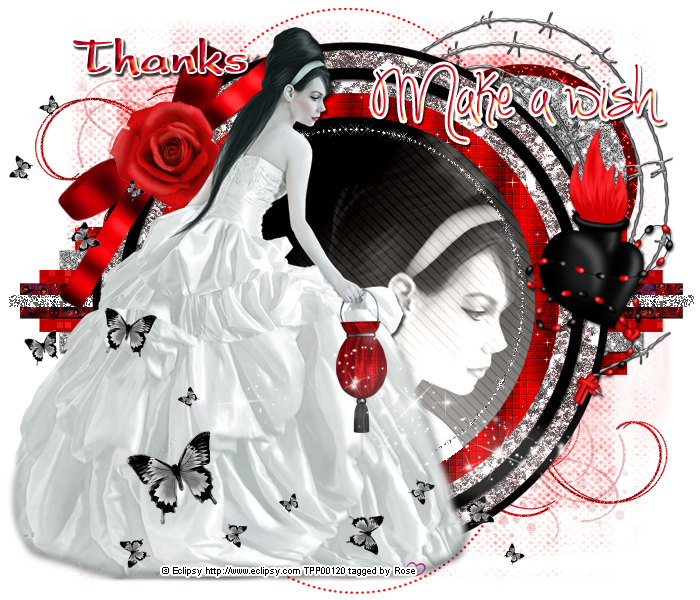
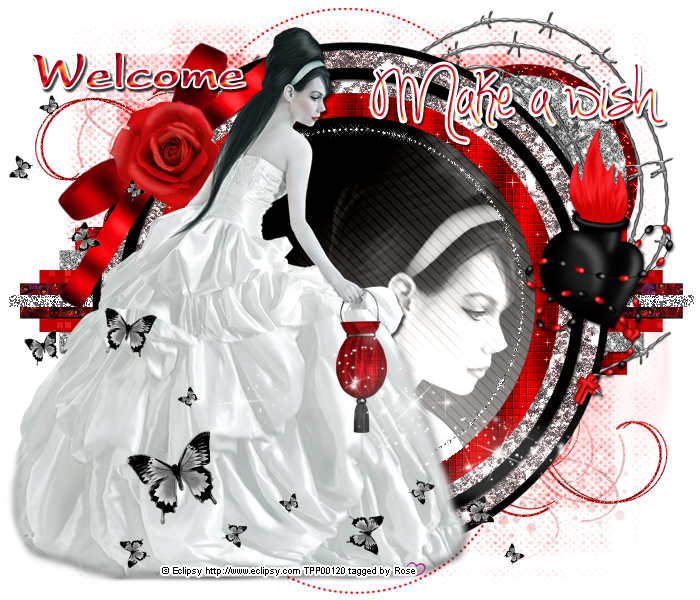
Add text, font of your choice add effects stroke (color white) , drop shadow,
add color overlay color #e3007a,
Now delete your white bg layer and save as PNG
I hope you enjoyed this Tutorial 
Wednesday 27 June 2012
Tuesday 26 June 2012


Sunday 24 June 2012
Thursday 21 June 2012
Tutorial written on 21th June 2012
This tutorial assumes you have working knowledge of Adobe Photoshop CS2
This tutorial assumes you have working knowledge of Adobe Photoshop CS2
♥ Supplies Needed ♥
♥ Tube of Choice I used PTU Lady Berry by Misticheskaya can be Purchased at SATC
♥ Scrap Kit of Choice I Used PTU Strawberry Passion by
Bibi's Collection can be Purchased at SATC
♥ You Need SATC License number to use this Art
♥ Font of Choice I used LainiedaySH
♥ Template of choice i used EL#102
♥ Scrap Kit of Choice I Used PTU Strawberry Passion by
Bibi's Collection can be Purchased at SATC
♥ You Need SATC License number to use this Art
♥ Font of Choice I used LainiedaySH
♥ Template of choice i used EL#102
Mask of choice
Open new image (ctrl+n) size 700 x 600 pxl with white bg color
Open Template and copy all layers and paste to your image resize it 80x80
Open tube and paste tube layer on the right side of template resize 70x70
open 2nd tube layer1 (face) paste it on the black rectangle layer of template cut the tube part sticking out of the black rectangle, copy tube and paste it on upper and lower part of the white rectangle inside the black frame, and one copy of tube in grey circle3 Cut the tube part sticking out of the frames and circle
Select the tube on the white rectangle select both layers and change color
Click Image> adjustment> hue/saturation (Ctrl+U > colorize> hue 351 saturation 50
select tube layer on grey circle3 Click image> adjustment> Desaturate
Open paper one from scrap kit and paste it on Grey Circle1, purple circle1 and 2
change the color of all dotted frames in red
Now select pink square and change color #ec0f07 Opacity 40%
now apply patterns of your choice I love Glitters so i used some glitter patterns
white rectangle i used silver glitter pattern,
for frames i used silver Glitter pattern
for purple rectangle and black circle red pattern of your choice, i used red glitter patterns
Open Element 10 make resize it 40 x 40 make 2 more duplicate layers
place all three layers at lower part of the image behind all the layers
place element 30 on left side of the image at the lower part oft he template
resize it 50x 50 transform flip horizontal
Place element 6 (resize 80x80) element 36 (resize ) and
element 40(60x60) on the left side on the template as shown in the image
place element 2 behind the tube layer at center of the image
Open element 25 duplicate it place one one the lower part of the tube (resize40x40)
place duplicate 25 at right lower corner of black rectangle, resize 30 x 30 rotate -39
Open element 27(resize 40x40) and 35 (resize 40x40) place them lower part of the tube
Open Element 29 resize (60x60) and 37(resize 50x50) place them behind template
on the right side of the image , now add mask of your choice color #f384ab
♥ Add copyright info and license number correctly
Add text, font of your choice add effects stroke (color white) , drop shadow,
add color overlay color Red,
Now delete your white bg layer and save as PNG
I hope you enjoyed this Tutorial
Monday 18 June 2012
Tutorial written on 18th June 2012
This tutorial assumes you have working knowledge of Adobe Photoshop CS2
and adobe image ready (for animation)
♥ Supplies Needed ♥
♥ Tube of Choice I used PTU Angel by Misticheskaya can be Purchased at SATC
♥ Scrap Kit of Choice I Used PTU Shabby Lane by Puddicat Creations
can be Purchased at SATC
♥ You Need SATC License number to use this Art
♥ Font of Choice
♥ Simone Animation #78 Here
Open new image 655x 375pxl with white bg
create new layer and select rectangular marquee tool (m) make box size 655x220 pxl
select paint bucket tool and fill box with white color name box1, make duplicate layer of this box
and resize it 98x 94pxl (box2)
select Box1 and apply pink glitter pattern of your choice and
select box 2 fill it with paper pdc-paper6 and add stroke color black, size 2
Open tube and paste tube in your image on the left side of the box cut the part from left
and lower part of the tube that is sticking out of the box
now open tube and add tube layer on the box 2 and cute the part sticking out of the box
reduce opacity of the tube layer 15%
make new layer again select rectangular marquee tool (m) make box
as shown in image
Fill it with white color and reduce opacity 32x32
Open Element pdc_branch1 place it behind tube layer resize 40x40 Rotate -54
Open pdc_butterfly3 place it on the right upper part of the branch resize 20x20
add pdc-butterfly2 on the upper center part of the branch resize 15x15 Rotate -31
Add pdc-butterfly1 on the lower center part of the branch resize 15x15
now open Simone Animation #78 select all the layers and paste layers in image
For blinking eyes effect
make New layer and select black color and color eyes in black
as shown in image (don't color your tube layer always make new layer)

now hide layer visibility
move your image to image ready
set frame delay time 0.1sec and make 26 frames according to animation layers
now set layer visibility with each frame and
also set layer visibility of black eyes on layer 13 and 26
click play to check your animation
♥ Add copyright info and license number correctly
Add text, font of your choice add effects stroke (color #95004a) , drop shadow,
add white glitter pattern, add bevel and emboss>ring double
Now delete your white bg layer and save Optimized as
I hope you enjoyed this Tutorial
Sunday 17 June 2012

Tuesday 12 June 2012
FTU Tutorial Sexy Meow
hue +109
saturation +58
now select your tube in round frame and again apply hue saturation
click on colorize and hue 27 saturation 69
open Filter> VanDerLee > interlace
horizontal scale 3
Horizontal thickness 1
Select Light
x position 44
y position 54
Angle 35
Focus 56
click ok :)
now slect element bow 10 and again click Filter > add noise 17%
and select bg paper4 and add noise 18%
Tutorial written on 11th June 2012
This tutorial assumes you have working knowledge of Adobe Photoshop CS2
♥ Supplies Needed ♥
♥ You Need SATC License number to use this Art
♥ Font of Choice I used GIDDYUP™
♥ Mask of choice i used 139 Insatiable Dreams mask
♥ Plugin Needed VanDerLee
Open new image (ctrl+n) 700 x 600 pxl with white bg color
open miz-stampframe2 Transform > Rotate >90 ccw and resize it 80 x 80
Open tube and place tube layer and resize it 65x 65 place it on the left side of the frame
place Title of the tube Sexy meeoow on the lower part of the tube resize it 60x60
open miz-frame and place it behind layer of frame2 resize it 60x 60
Open paper miz-pp4 and miz-pp6 cut papers according to frame 2
miz pp6 for upper part of the frame and mizpp4 for lower part of frame
open tube layer (new) and place it behind miz-frame layer
cut the tube part sticking out the frame
open new layer now select elliptical marquee tool (M)
and select round frame as shown in picture
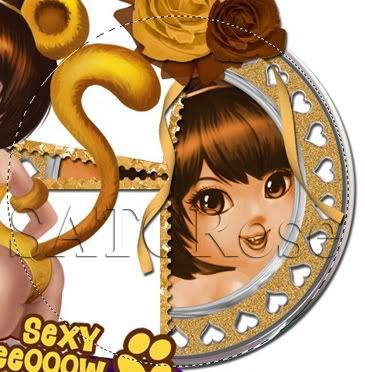
and fill it with white color double click on layer and add brown
glitter pattern of your choice,
Open element miz-bow10 (resize 50x50), place it on the right upper corner of the frame2
add miz-tulle5 (resize 35 x 35) and miz-rose3 (resize 50x50) place it on the bow10
open miz-rose1 (resize 30x30) place it on the right lower part of rose3
add miz-rose (resize 60x60) upper right side of the frame lyer behind all layers
add miz butterfly3(resize 35x35) rotate angle 21
now and miz-diamondrain behind all the layers
orignal kit is in purple color so i have changed color in 2 shades one is yellow
and other one is brown
for yellow color
Click Image> adjustments> Hue/saturation (ctrl+U)
hue +119
saturation +58
for brown color open new layer now select elliptical marquee tool (M)
and select round frame as shown in picture
and fill it with white color double click on layer and add brown
glitter pattern of your choice,
Open element miz-bow10 (resize 50x50), place it on the right upper corner of the frame2
add miz-tulle5 (resize 35 x 35) and miz-rose3 (resize 50x50) place it on the bow10
open miz-rose1 (resize 30x30) place it on the right lower part of rose3
add miz-rose (resize 60x60) upper right side of the frame lyer behind all layers
add miz butterfly3(resize 35x35) rotate angle 21
now and miz-diamondrain behind all the layers
orignal kit is in purple color so i have changed color in 2 shades one is yellow
and other one is brown
for yellow color
Click Image> adjustments> Hue/saturation (ctrl+U)
hue +119
saturation +58
hue +109
saturation +58
now select your tube in round frame and again apply hue saturation
click on colorize and hue 27 saturation 69
open Filter> VanDerLee > interlace
horizontal scale 3
Horizontal thickness 1
Select Light
x position 44
y position 54
Angle 35
Focus 56
click ok :)
now slect element bow 10 and again click Filter > add noise 17%
and select bg paper4 and add noise 18%
don't forget to add drop shadow your elements
♥ Add copyright info and license number correctly
now add text add effects stroke size 2 (color#540a01) , drop shadow,
pattern yellow glitter and add your mask color #ee9c00
pattern yellow glitter and add your mask color #ee9c00
now delete your white bg layer and save your image as PNG
I hope you enjoyed this Tutorial
Monday 11 June 2012


Wednesday 6 June 2012
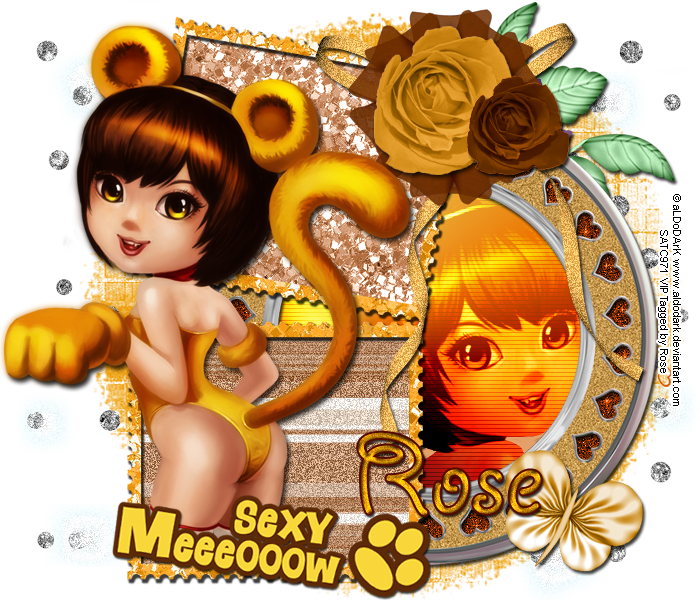
HARISSASKY PTU Tutorial
Tutorial written on 6th June 2012
This tutorial assumes you have working knowledge of Adobe Photoshop CS2
♥ Supplies Needed ♥
♥ You Need TPP License number to use this Art
Font of Choice I used Scriptina
Mask of choice
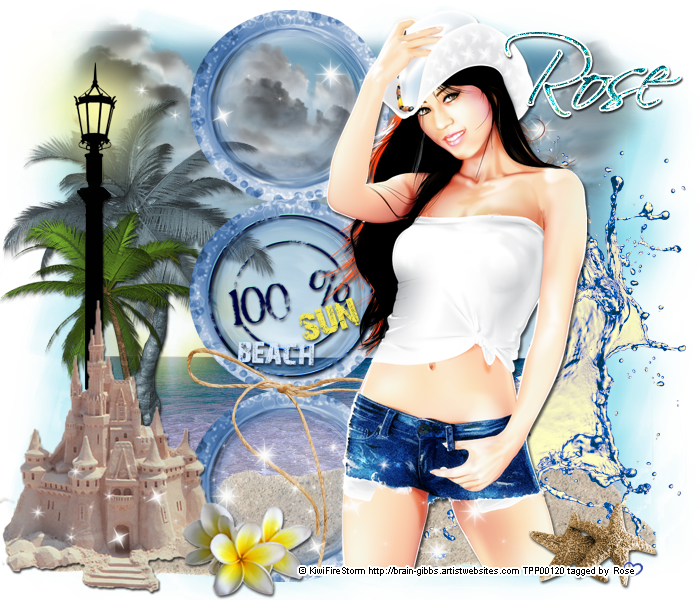
Open new image (ctrl+n) 700 x 600 pxl with white bg color
Open Element8 and paste it on your image in center
click Edit> transform> rotate 90 cw, resize it 70x 66
open tube and place tube layer1 resize 70x70 and place it beside element8
open element 60, 59 and 46. place layer 60(sea) lower part of image
and 59(sand) send lower part of image resize 80x80
and element 59(clouds) upper part of the image resize 85x85
place them behind element8 layer
Open Element 13,15,32, 41, 44, 46, 53, 54, 57,58
Element 54, transform>flip horizontal resize 50x50 rotate -22.0
Place Element 13 on the left side of image resize it 70x70
Element 53, transform> flip horizontal resize 60x60
Now place 58 on the left side of the image lower part resize 80x80
Element 41 on right side of layer 58 resize 80x80 rotate 18.6
Element 15 transform >flip horizontal place it behind tube layer1 on the right side of image
Element 44 on the left side lower part of the image
Element 32 on center of the element 8 and element 9 at lowert part of element 32
now add element 57 behind element 54 layer at left center of the image
now erase left and right side of the sea and clouds sticking out with
soft round 100pxl eraser tool (E)
add mask color #6ad3e6
now add element 32 and duplicate it 3 times place 2 layers at bottom of image and
one on the upper part of the image
don't forget to add drop shadow your elements
♥ Add copyright info and license number correctly
now add text add effects stroke (colorwhite) , drop shadow, pattern blue glitter
now delete your white bg layer and save your image as PNG
I hope you enjoyed this Tutorial
Tuesday 5 June 2012


Monday 4 June 2012
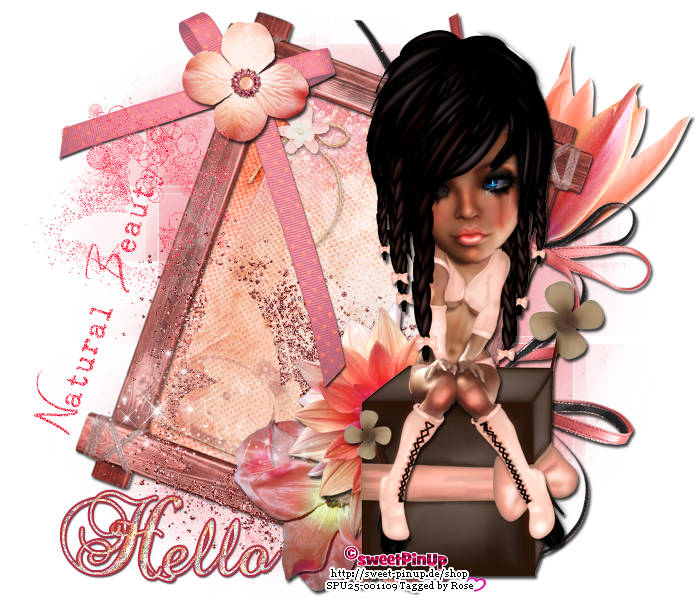
Sweet PinUp LOLLO PTU

Tutorial written on 5th June 2012
This tutorial assumes you have working knowledge of Adobe Photoshop CS2
♥ Supplies Needed ♥
can be Purchased at SATC
♥ You Need SATC License number to use this Art
Font of Choice I used Simply*Glamorous
Mask of choice I used 149 Insatiable Dreams mask
♥ Plugin Needed VanDerLee
Open new image (ctrl+n) 700 x 600 pxl with white bg color
open element ccd Frame1 and place it center of the image
open paper2 resize it 50x50pxls and place it behind frame1 layer and
delete the paper parts sticking out.
Now open tube, make duplicate layer of tube and place your tube layer1 on right side of the frame as shown in my tag and resize it 60x60pxl, and duplicate tube layer behind frame layer,
delete the paper parts sticking out.
Now open tube, make duplicate layer of tube and place your tube layer1 on right side of the frame as shown in my tag and resize it 60x60pxl, and duplicate tube layer behind frame layer,
select duplicate tube layer Click Image > Adjustments > Hue/saturation (ctrl+U)
and click colorize and Hue 280, now make duplicate layer of it and
select 2nd duplicate layer and click Flier> VanDerLee > Light >
Color #fea9d9
xposition 30
y position 31
Angle 193
Focus 54
set values and click ok reduce opacity of layer to 60%
again open VanDerLee >interlace>
horizontal scale 3
horizontal thickness 1
set values and click ok reduce opacity of layer to 60%
again open VanDerLee >interlace>
horizontal scale 3
horizontal thickness 1
Open element Flower1, flower2, flower3, flower6, flower7, flower8 resize 30x30pxl
and arrange them on left lower side of the frame corner
open element bottle1 and bottle2, bottle1(resize 50x50) behind flower layers
and bottle2 little right side of flowers resize 30x30pxl
Place ccd leaves1 behind all flower layers resize 60x60 pxl
element ribbon1 and Transform > rotate 90 cw and place it behind leaves layer
now open ccd birdhouse element Edit>transform>flip horizontal and resize 80x80pxl
place cdd bird1 at lower part of bird house, resize 20x20 and edit>transform>flip horizontal
open element ccd bling1 and bling4 add bling 4 (resize 70x70pxl) on the left side of frame behind frame layer and bling1(resize 40x40pxl) on right side of frame behind frame layer
et values and click ok reduce opacity of layer to 60%
Add Drop shadow to all Elements
add mask layer behind all layers and add color overlay #c78fb9
add mask layer behind all layers and add color overlay #c78fb9
♥ Add copyright info and license number correctly
slect foreground color in tool bar and set it white add text add effects stroke (color #46015d) , drop shadow, click text layer right click ok layer to rasterize layer and click fliter
and add noise to text layer 49% uniform
slect foreground color in tool bar and set it white add text add effects stroke (color #46015d) , drop shadow, click text layer right click ok layer to rasterize layer and click fliter
and add noise to text layer 49% uniform
Now delete your white bg layer and save your image as PNG
I hope you enjoyed this Tutorial
Subscribe to:
Posts
(Atom)