


Monday 30 July 2012


Friday 27 July 2012
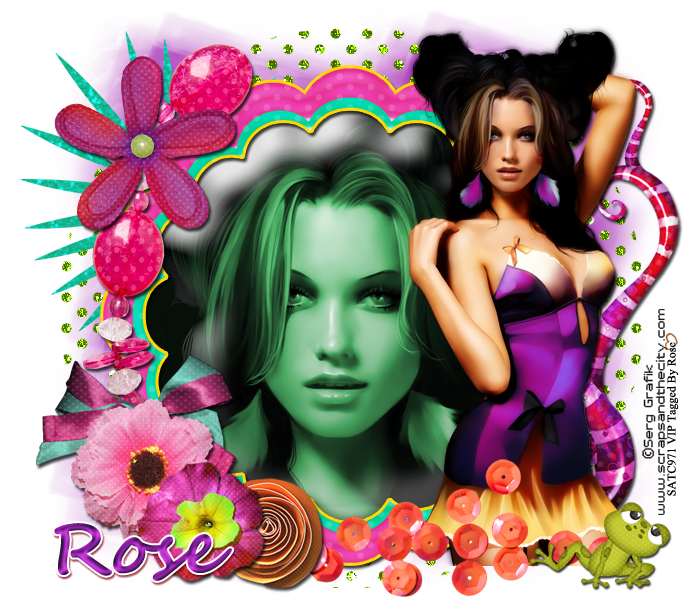
Tutorial written on 27th July 2012
This tutorial assumes you have working knowledge of Adobe Photoshop CS2
♥ Supplies Needed ♥
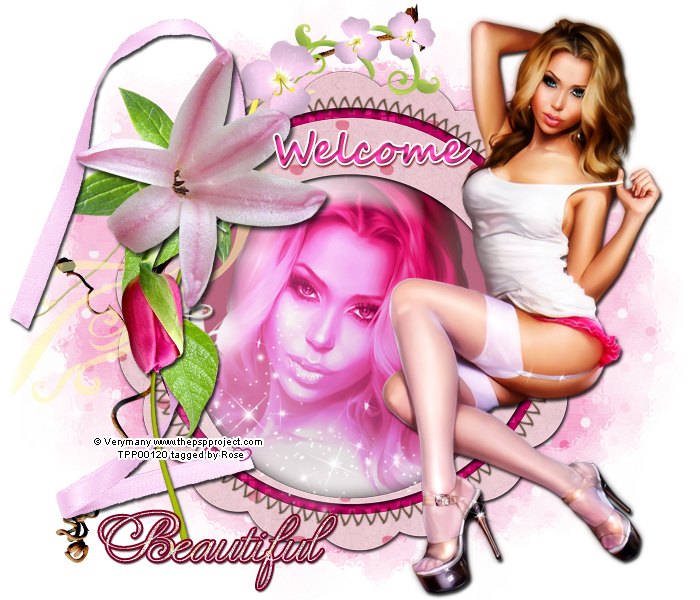
♥ Tube of Choice I used PTU Sabrina of Serg Grafik can be Purchased at SATC
♥ Scrap Kit of Choice I Used PTU Dots of Fun by Gemini Creationz can be Purchased at SATC
♥ You Need SATC License number to use this Art
♥ Font used Segoe Script font
♥ Mask of choice
Open new document 700x600 pxl with white bg color
Open Element e39 paste it at center of your image
now open tube file and paste violet layer of tube on right side of frame resize it 70x70
open closeup layer of tube and paste it behind frame layer
cut the tube part sticking out of frame
add effects Click Image> adjustment> colorize
hue 124
saturation 38
Open Elements E8 (flip Horizontal), e10 (resize 40x40), e29 (resize 30x30),
e52 (resize 50x50) , e60, e61, e62 (resize 30x30), e63 (resize 60x60),
place tham on left side of the frame as shown in image
open element e4 resize 95x95 place it behind frame layer and add green glitter
pattern of your choice
Open Element e12 (resize 80x80), e20 (resize 40x40)
place them on right side of frame as shown in image
add mask of your choice Color#9d1eae
add mask of your choice Color#9d1eae
don't forget to add drop shadow to all your elements
♥ Add copyright info and license number correctly
now add text add effects stroke (color #ffffff) , drop shadow (color#820115),
Bevel and emboss, color overlay (color#9f23b5)
now delete your white bg layer and save your image as PNG
I hope you enjoyed this Tutorial 
Wednesday 25 July 2012
Enchanted Extras Featuring art Little Black Skirt By gIO at TPP
Beautiful Scrap kit Enchanted by Bibi's Collection

Sunday 22 July 2012
Candy Tag Featuring Cuteeeeee Scrap Kit Jelly Scrap By SweetPinUp
Shop link http://sweet-pinup.de/shop/
Tuesday 17 July 2012
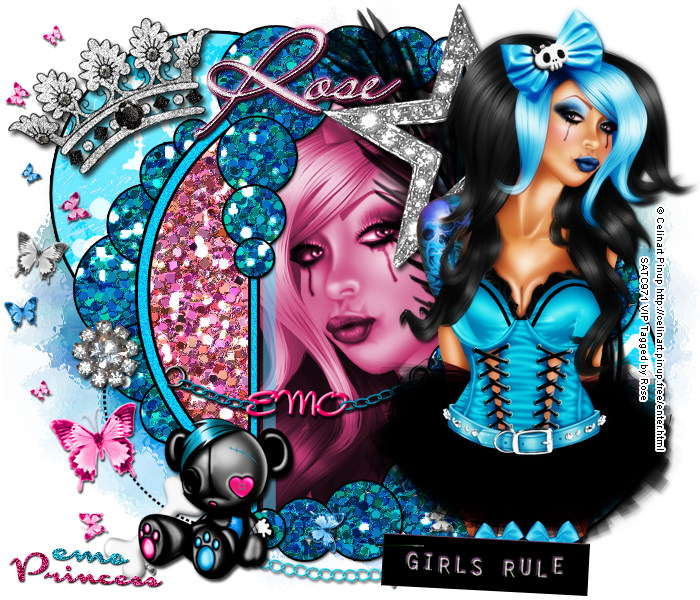
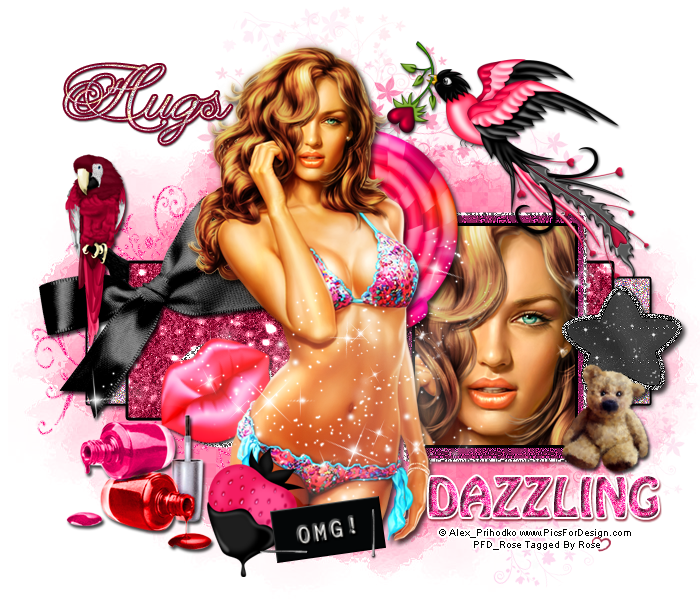
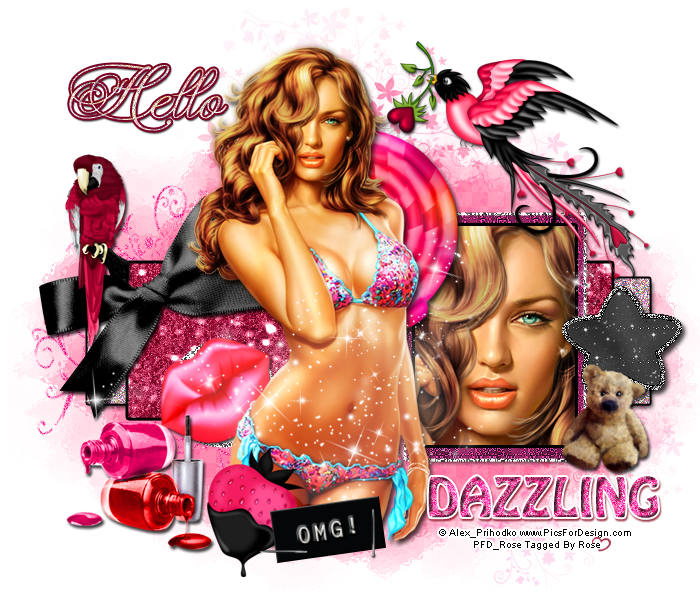
Tutorial written on 28th July 2012
This tutorial assumes you have working knowledge of Adobe Photoshop CS2
♥ Supplies Needed ♥
♥ Mask and Font of choice
Open new document 700x630 pxl with white bg color
copy/ paste template in your document resize 80x80
Open Tube blue layer and resize 50x50 paste it on right side of template
copy paste tube layer again and cut it according to Black rect template Layer
add effect > Image > Adjustment > hue/saturation > colorize >
Hue = 334 , saturation = 44
Flip horizontal
Now add papers and effects to Template
add paper8 to black circle2 and black circle1 + drop shadow and black srtoke to both circles
add blue glitter pattern of your choice to all Dots back+ black stroke
Add Blue glitter to Black circle add black stroke
add Paper3 to Grey circle and black stroke
Add color #4cd7f9 overlay to strip1 and strip2 and set opacity 50%
Add same blue glitter pattern to front Dots + drop shadow and black stroke
Open Element 2 (resize 60x60%), 4 (resize 70x70), 12(resize 90x90 + rotate -26),
25 and 61 (Flip Horizontal) paste them on left side of the template as shown in my tag
Copy Element 9, 26, 27, 41 (resize 50x50) place them on right side of template
as shown in my tag
add mask of your choice Color#4490c0
don't forget to add drop shadow to all your elements
♥ Add copyright info and license number correctly
now add text add effects stroke (color #59002a) , drop shadow,
color overlay (white glitter pattern) outer glow (Color #f7357e)
color overlay (white glitter pattern) outer glow (Color #f7357e)
now delete your white bg layer and save your image as PNG
I hope you enjoyed this Tutorial
Wednesday 11 July 2012
FTU Tutorial Animated Kitty
Tutorial written on 10th July 2012
This tutorial assumes you have working knowledge of
Adobe Photoshop CS2 and Adobe image Ready
This tutorial assumes you have working knowledge of
Adobe Photoshop CS2 and Adobe image Ready
♥ Supplies Needed ♥
♥ You Need SATC License number to use this Art
♥ Font and mask of Choice
♥ Plugin Needed Xenofex> Constellation
Open new document 700x600 pxl with white bg color
Open element 19 resize 80x80% paste it on center of the image
Open tube file and C/P tube on your image at left side of the frame Resize 60x60%
again copy tube layer and paste it on frame(elemet 19) behind the frame layer
cut the part of tube sticking out of the frame
Open Element # 4, 36 (resize 70x70), and 51 (resize 40x40%)
paste them on lower left part of the frame
Paste element 11 at lower part of frame behind frame and tube layer
Paste element 24 behind tube layer
Open Element 15, 21 (resize 50x50), 43 (flip Horizontal),
Paste Element 32 , make 2 dulpicate copies name 32-1, and 32-2
resize 32-1 70x70% , and 32-2 50x50%
arrange all of them on right side of frame as shown in image
now merg layer 32, 32-1, and 32-2
Open element 38 paste it behind frame layer little upper side
apply drop shadow to all your elements
now change color of element
Image> Adjustment> Hue/saturation
Element 4 , Hue = 180
Element 19, Hue = 124
Element 24, Hue= -148
Elelment 21 Hue= 111
For Glitter Animation
select layer (element 32) make 2 duplicate layers of it
now select each layer and apply Xenofex> Constellation
apply constellation all 3 layers
now select Layer (element 24) make 2 more duplicate layers
select all layers one by one and apply Xenofex> Constellation
move your image to Image Ready make 3 frames
set frame delay time 0.1 sec
now set visibility of glitter layers with each frame
click play to check animation
♥ Add copyright info and license number correctly
Add text, font of your choice add effects to your text stroke (color #630035) , drop shadow,
add pattern of your choice I used silver glitter patterns for text
Click Save Optimized as to save your animated gif image
Click Save Optimized as to save your animated gif image
I hope you enjoyed this Tutorial
Monday 9 July 2012


Saturday 7 July 2012
Tutorial written on 6th July 2012
This tutorial assumes you have working knowledge of Adobe Photoshop CS2 , Adobe Image ready
♥ Supplies Needed ♥
♥ You Need SATC License number to use this Art
Mask of choice I used 103 Insatiable Dreams mask
♥ Plugin Needed VanDerLee > Light
Penta >Jeans
Animation Here
♥ Plugin Needed VanDerLee > Light
Penta >Jeans
Animation Here
Font of Choice
Open new document 700x630 pxl with white bg color
C/p Frame at center of the image and resize 23x23%
now open tube select full tube layer and paste it on left side of the frame resize 80x80%
Open element Button (resize 70x70%), Cat (resize 50x50%), bow, skull (resize 70x70%)
paste them on left side of frame as shown in my tag
Open Ribbon (Edit> Transform> rotate 90cw),
paste wire behind frame layer lover part
Paste glitter element on Right side of frame behind tube and frame layer
open tube and paste closeup layer in the frame cut the tube part sticking out of the frame
add bg to the tube behind frame layer
now add effects to colseup layer
Click Image> Adjustments> Hue/saturation (ctrl+U) > Colorize
hue 220
saturation 36
add Jeans effects border width 8 amount 12
now make a duplicate layer and
select duplicate layer and add VanDerLee > Light (color =#94eefe)
x position 29
y position 60
Angle 158
focus 51
set layer opacity 80%
add effects to elements double click button layer and add stroke (size 3) use blue glitter pattern of your choice in stroke and white glitter pattern (size 3) in bow
i also used blue glitter pattern in glitter element layer
For animation
open animation file and select all the frames and paste all layers on the closeup tube layer
make a new layer above the tube layer and fill the eyes part with black color (shown in image below)
on your new layer, dont color your tube layer, always make new layer

now add mask add pattern to your mask layer i used paper pp13
open tube and paste closeup layer in the frame cut the tube part sticking out of the frame
add bg to the tube behind frame layer
now add effects to colseup layer
Click Image> Adjustments> Hue/saturation (ctrl+U) > Colorize
hue 220
saturation 36
add Jeans effects border width 8 amount 12
now make a duplicate layer and
select duplicate layer and add VanDerLee > Light (color =#94eefe)
x position 29
y position 60
Angle 158
focus 51
set layer opacity 80%
add effects to elements double click button layer and add stroke (size 3) use blue glitter pattern of your choice in stroke and white glitter pattern (size 3) in bow
i also used blue glitter pattern in glitter element layer
For animation
open animation file and select all the frames and paste all layers on the closeup tube layer
make a new layer above the tube layer and fill the eyes part with black color (shown in image below)
on your new layer, dont color your tube layer, always make new layer
now add mask add pattern to your mask layer i used paper pp13
♥ Add copyright info and license number correctly
Add text, font of your choice add effects to your text stroke (color #00364b) , drop shadow,
add pattern of your choice I used blue and silver glitter patterns for text
For animation effects move your image to image ready. make frames according to your
animation file, I made 21 frames , set Frame delay time 0.1sec, and set the layer and
animation visibility with each frame
Hide Black eye layer visibility on all layers except layer 12 and 21
click play to check animation
Click Save Optimized as to save your animated gif image
I hope you enjoyed this Tutorial
Sunday 1 July 2012
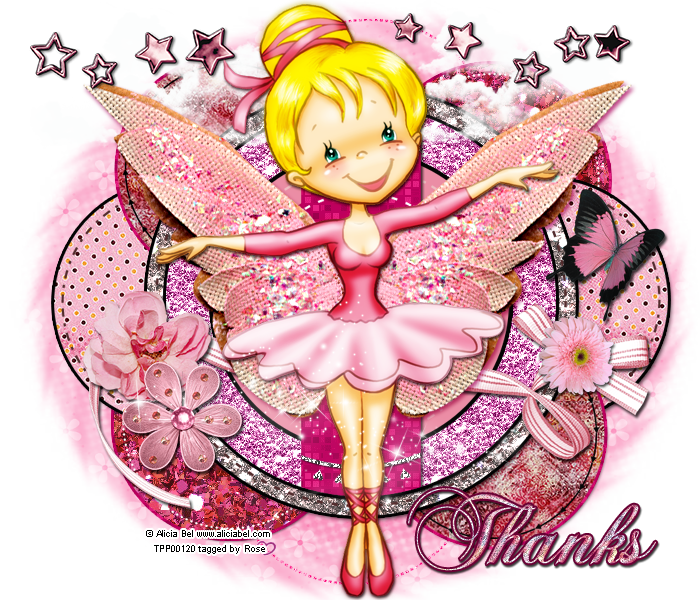
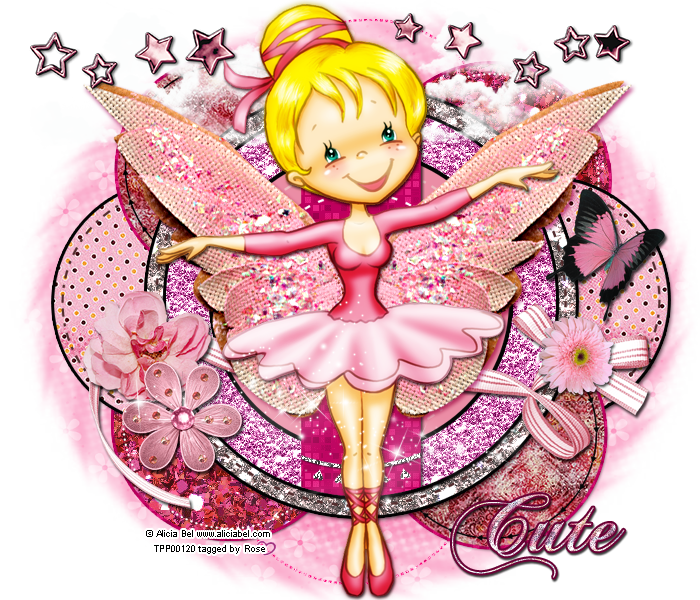
Cute Extras Featuring art By Alicia bel PTU tube Dancer
and beautiful scrap kit PTU Dancer Kit can be purchased at TPP
and beautiful scrap kit PTU Dancer Kit can be purchased at TPP


Subscribe to:
Posts
(Atom)