


Tuesday 12 June 2012
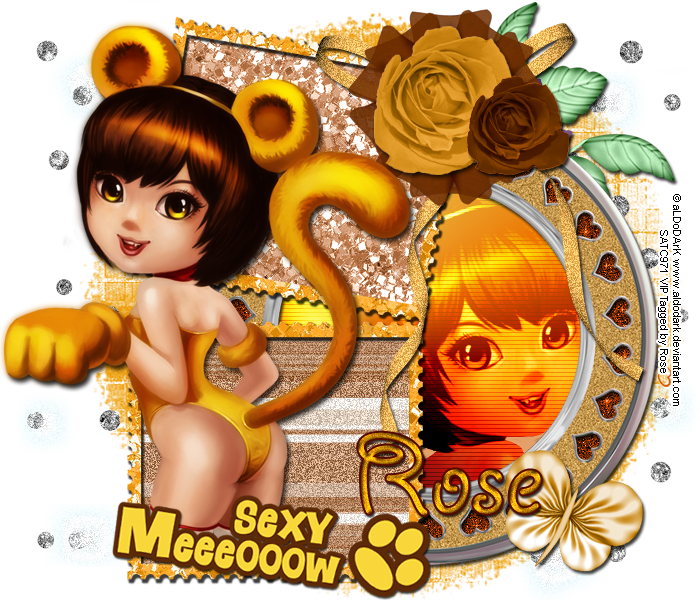
FTU Tutorial Sexy Meow
hue +109
saturation +58
now select your tube in round frame and again apply hue saturation
click on colorize and hue 27 saturation 69
open Filter> VanDerLee > interlace
horizontal scale 3
Horizontal thickness 1
Select Light
x position 44
y position 54
Angle 35
Focus 56
click ok :)
now slect element bow 10 and again click Filter > add noise 17%
and select bg paper4 and add noise 18%
Tutorial written on 11th June 2012
This tutorial assumes you have working knowledge of Adobe Photoshop CS2
♥ Supplies Needed ♥
♥ You Need SATC License number to use this Art
♥ Font of Choice I used GIDDYUP™
♥ Mask of choice i used 139 Insatiable Dreams mask
♥ Plugin Needed VanDerLee
Open new image (ctrl+n) 700 x 600 pxl with white bg color
open miz-stampframe2 Transform > Rotate >90 ccw and resize it 80 x 80
Open tube and place tube layer and resize it 65x 65 place it on the left side of the frame
place Title of the tube Sexy meeoow on the lower part of the tube resize it 60x60
open miz-frame and place it behind layer of frame2 resize it 60x 60
Open paper miz-pp4 and miz-pp6 cut papers according to frame 2
miz pp6 for upper part of the frame and mizpp4 for lower part of frame
open tube layer (new) and place it behind miz-frame layer
cut the tube part sticking out the frame
open new layer now select elliptical marquee tool (M)
and select round frame as shown in picture
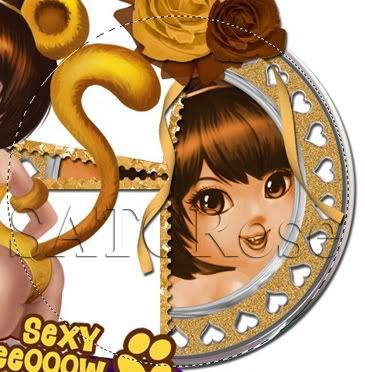
and fill it with white color double click on layer and add brown
glitter pattern of your choice,
Open element miz-bow10 (resize 50x50), place it on the right upper corner of the frame2
add miz-tulle5 (resize 35 x 35) and miz-rose3 (resize 50x50) place it on the bow10
open miz-rose1 (resize 30x30) place it on the right lower part of rose3
add miz-rose (resize 60x60) upper right side of the frame lyer behind all layers
add miz butterfly3(resize 35x35) rotate angle 21
now and miz-diamondrain behind all the layers
orignal kit is in purple color so i have changed color in 2 shades one is yellow
and other one is brown
for yellow color
Click Image> adjustments> Hue/saturation (ctrl+U)
hue +119
saturation +58
for brown color open new layer now select elliptical marquee tool (M)
and select round frame as shown in picture
and fill it with white color double click on layer and add brown
glitter pattern of your choice,
Open element miz-bow10 (resize 50x50), place it on the right upper corner of the frame2
add miz-tulle5 (resize 35 x 35) and miz-rose3 (resize 50x50) place it on the bow10
open miz-rose1 (resize 30x30) place it on the right lower part of rose3
add miz-rose (resize 60x60) upper right side of the frame lyer behind all layers
add miz butterfly3(resize 35x35) rotate angle 21
now and miz-diamondrain behind all the layers
orignal kit is in purple color so i have changed color in 2 shades one is yellow
and other one is brown
for yellow color
Click Image> adjustments> Hue/saturation (ctrl+U)
hue +119
saturation +58
hue +109
saturation +58
now select your tube in round frame and again apply hue saturation
click on colorize and hue 27 saturation 69
open Filter> VanDerLee > interlace
horizontal scale 3
Horizontal thickness 1
Select Light
x position 44
y position 54
Angle 35
Focus 56
click ok :)
now slect element bow 10 and again click Filter > add noise 17%
and select bg paper4 and add noise 18%
don't forget to add drop shadow your elements
♥ Add copyright info and license number correctly
now add text add effects stroke size 2 (color#540a01) , drop shadow,
pattern yellow glitter and add your mask color #ee9c00
pattern yellow glitter and add your mask color #ee9c00
now delete your white bg layer and save your image as PNG
I hope you enjoyed this Tutorial 
Subscribe to:
Post Comments
(Atom)


0 comments:
Post a Comment